How to lock cells in Excel and protect formulas [easy guide]
If you are working on a shared workbook, you may want to protect all or some of the cells to prevent unwanted changes from other users. This is also valid if you’re going to send a report and you don’t want people modifying it or changing the file structure or the formulas. That is why you must learn how to lock cells in Excel.
In this article, I’ll show you:
- How to lock all cells from an Excel worksheet
- How to lock specific cells only
- How to lock formula cells
- How to lock cells based on color
- How to lock cells using Kutools for Excel (a useful Excel add-in)
How to lock all cells in Excel
By default, all cells in an Excel spreadsheet are locked. However, you can still edit them unless you protect the worksheet with a password. Once you set a password, the locked cells will no longer be editable unless you provide the password.
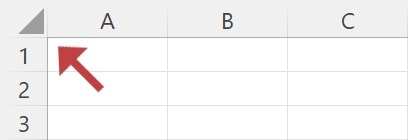
1. Select all the cells in the active Excel worksheet. You can do this either by using the + shortcut or by pressing on the gray arrow from the upper left corner (above row 1 and to the left of column A).
2. Right-click anywhere on the sheet, and choose Format Cells (or press + ).
Note: You can also navigate to the Home tab and click Format located on the upper right side.
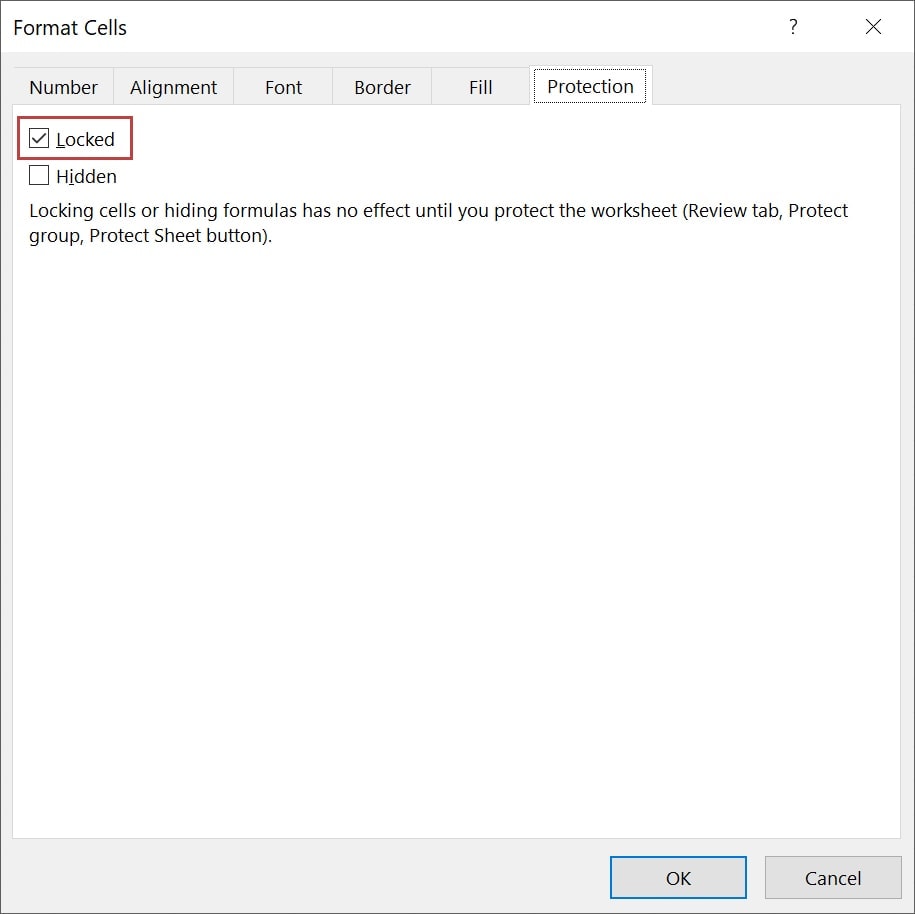
3. On the Protection tab, a check in the Locked check box indicates that all cells are locked. Click OK to confirm that all cells are locked.
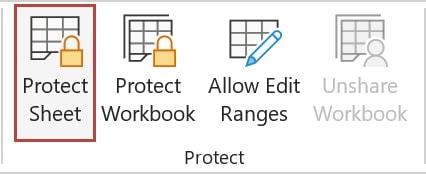
4. Navigate to the Review tab and click Protect Sheet in the Protect group.
5. Check the list of actions that you want users to be able to perform on your worksheet.
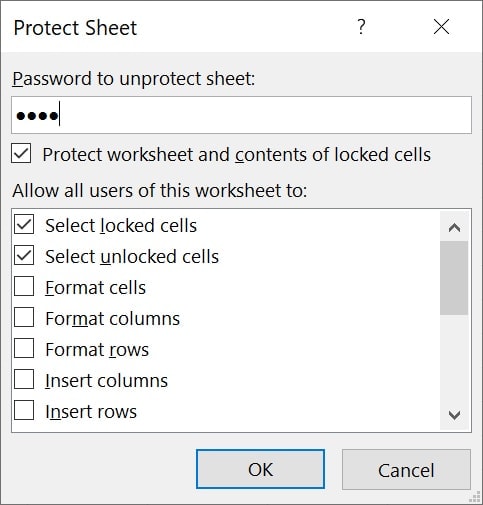
6. Enter a password in the Protect Sheet dialog box. Confirm the password by re-entering it in the next dialog box. If you leave the password field empty, Excel will not set a password for your file, but your worksheet will still be locked.
7. Click OK.
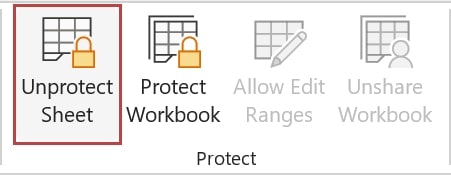
Seeing the Unprotect Sheet option active in the Protect group confirms that all the cells are now protected.
How to lock specific cells in Excel
To lock specific cells in Excel, make sure that all cells are unlocked. To unprotect specific cells and leave the other ones protected, follow the steps below:
1. Select all the Excel cells from the active worksheet.
2. Right-click anywhere on the sheet and select Format Cells (or press + ).
Note: You can also go to Home and click Format located on the upper right side.
3. On the Protection tab, uncheck the Locked check box and click OK.
Note: A solid box in the Locked check box means the selected cells contain both unlocked and locked cells.
4. Select the specific cells that you want to protect. For example, select range A1:A4.
5. Right-click on the selected cells and click Format Cells (or press + ).
6. On the Protection tab, check the box next to Locked.
7. Click OK. Now, only the cells from the range A1:A4 are locked for editing when the worksheet is protected.
How to lock formula cells
One thing you certainly don’t want others to mess up is cells that contain formulas. To prevent cells with formulas from being edited, follow these steps:
1. Select all cells in the active Excel worksheet by pressing + .
2. Right-click anywhere on the sheet, and choose Format Cells (or press + ).
Note: You can also go to the Home tab and click Format located on the upper right side.
3. On the Protection tab, uncheck the box next to Locked and click OK.
4. Go to the Home tab, and click Find & Select from the Editing group.
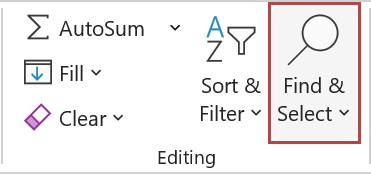
5. Click Go To Special from the drop-down list.
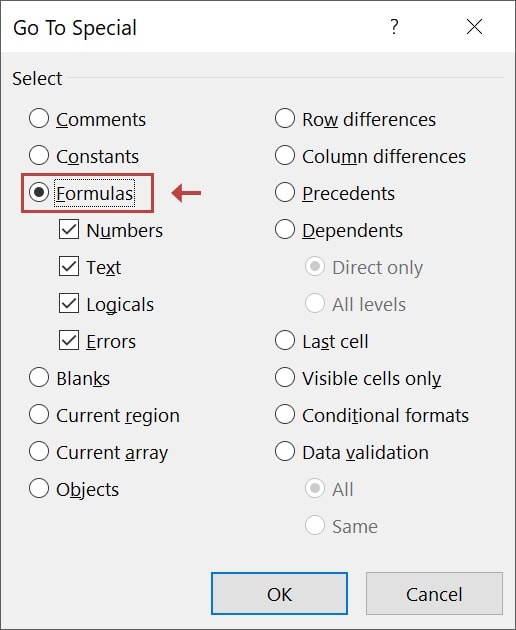
6. Select Formulas, and click OK. All the cells with formulas in the worksheet will be selected.
7. Press + , and check the Locked checkbox under the Protection tab.
8. Click OK.
9. Add a password to your Excel document by following the steps from the first section of this guide, and you should be good to go. All the cells containing formulas are protected, while the user can change the rest.
Note: A solid box in the Locked checkbox means the selected cells contain both unlocked and locked cells.
How to lock cells in Excel based on color
I often use colors to show the users which are input cells, especially in files designed to work as templates. The nice part about this approach is that you can set up your Excel file to allow input only in colored cells.
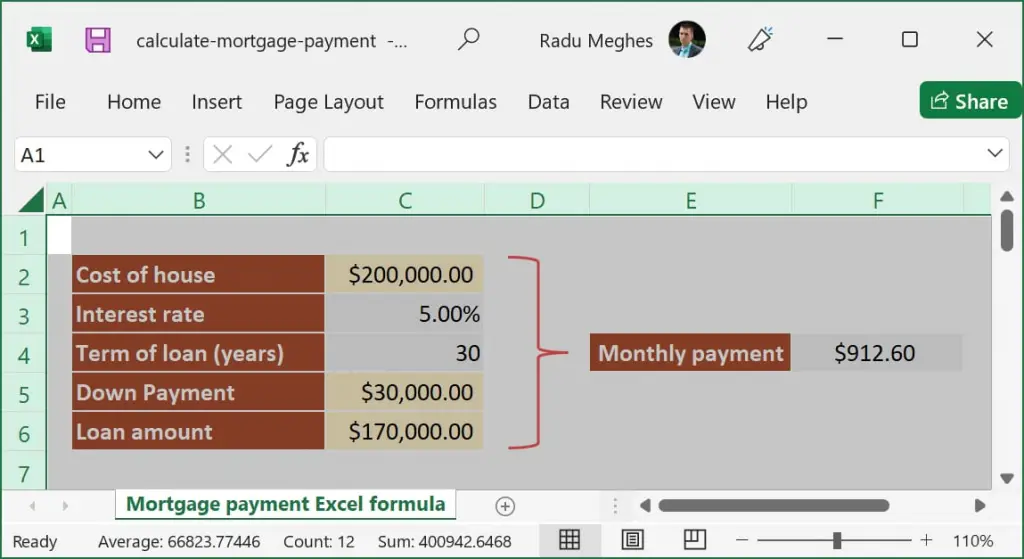
Let’s look at an example where we want to protect all cells except those colored in light yellow. To do this easily, we want the user to use the tab key to move from one cell to another by locking the rest of the cells and leaving only the yellow cells unprotected.
First, we need to lock all the cells. Check the steps above on how to lock all cells in Excel. After protecting all the cells using the Protect Worksheet feature, follow the instructions below to leave the yellow cells unlocked.
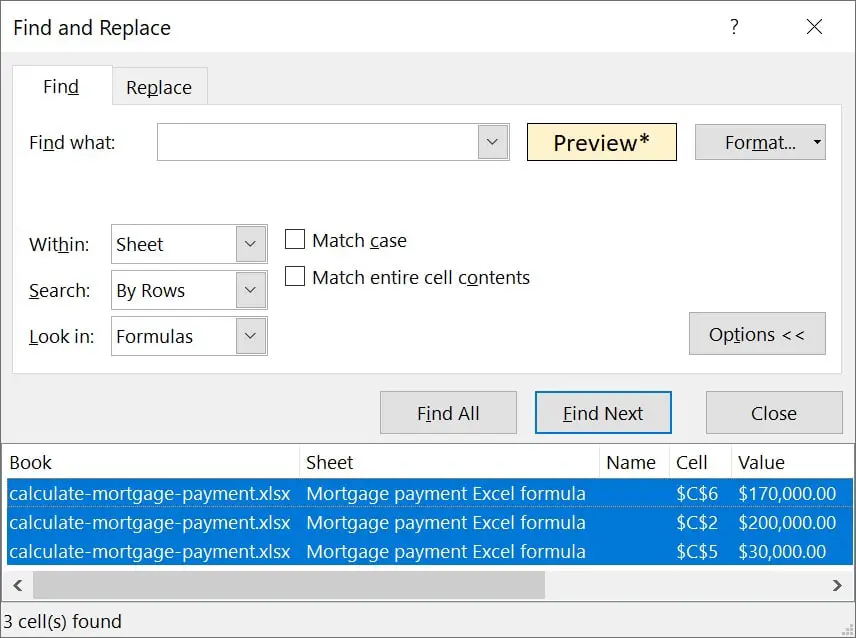
1. Select the range where you want to allow input of data. You can also select the entire sheet if you prefer. In this example, cells C2, C5, and C6 are input cells that I want the user to be able to change. They are used to calculate the mortgage payment using a simple mortgage calculator, but I want the interest rate and the period to be fixed.
2. Press + and click Options in the Find & Replace dialog box.
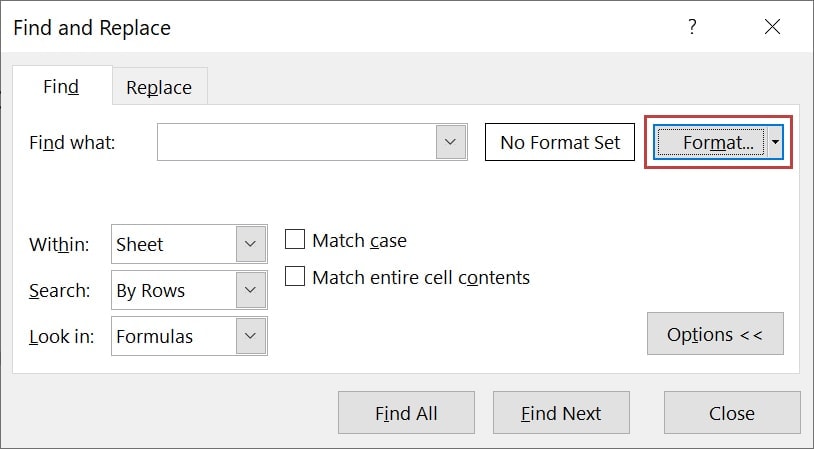
3. Click Format, and expand the drop-down list. Select the Choose Format From Cell option.
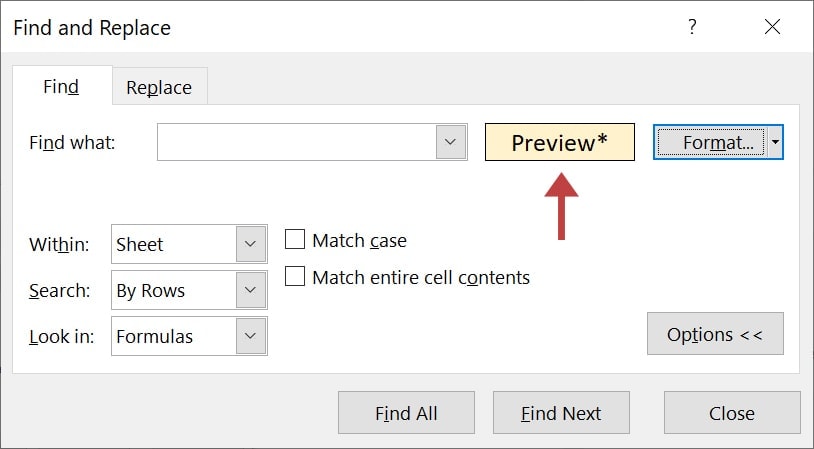
4. Select one of the colored cells that you want to unlock. The selected format will be displayed in the Find and Replace window.
5. Click Find All in the Find & Replace dialog box, and press + to highlight all the colored cells in the worksheet.
6. Press + to go back to the Format Cells option and uncheck the Locked checkbox under the Protection tab.
7. Click OK.
8. Click Protect Sheet from the Review tab, and enter a password.
9. Click OK.
One thing to remember is that this method also considers other formatting options. This means that if you have yellow cells formatted as currency and yellow cells formatted as percentages, they will not all get selected at once using the Find and Replace method. The best approach would be to decide which cells you want to unlock before applying additional formatting like borders, font styles, or number formats.
How to lock cells in Excel using Kutools for Excel
If you use Kutools for Excel, you have additional options available.
Kutools is a downloadable Excel add-in that offers more than 300 powerful advanced features and functions for Excel. It also offers a free 30-day trial of the full version, with no credit card required. Selection Lock/Unlock and Encrypt Cells features can be used in protecting cells in Excel worksheets.
Locking cells using the Selection Lock/Unlock feature
1. Select all cells in the active worksheet.
2. Click Kutools Plus in the menu bar and click Worksheet Design to activate the Design tab.
3. On the Design tab, click Unlock Cells.
4. A dialog box will appear saying that the selected cells have been unlocked. Click OK to close the dialog box.
5. Select the cells or ranges that you want to lock, and click Lock Cells on the Design tab.
6. Click OK to close the Kutools for Excel dialog box.
Locking cells using the Encryption Cells feature
If you use sensitive data in your file (like payroll information), you could use the Encryption Cells feature. To activate it:
1. Select the cells that you want to lock and encrypt.
2. Click Kutools Plus in the menu bar, and then click Encrypt Cells.
3. Select Encrypt Cells from the drop-down list to open the Encrypt Cells dialog box.
4. Enter a password into both the Password box and the Confirm box, and then select one of the mask types.
5. Click OK. The selected cells will be encrypted.
You can decrypt it by selecting Kutools Plus > Encrypt Cells > Decrypt Cells, and then type your password into the Decrypt Cells dialog box.
What to do next?
After reading this guide, I hope that you have a much better understanding of how to lock cells in Excel and protect your spreadsheets. Using password protection helps you safely share your spreadsheets with other users without worrying about accidental changes.
And remember, it’s always wise to make a full backup of your Excel file before adding a password to it since it’s very common for people to forget passwords after months of not using them.
In case you’ve set a password and forgot it, you can read this article on how to remove the password from an Excel file. It helped hundreds of people recover lost passwords and saved them countless hours.
